
Building a website has become an essential skill in today’s digital world.
Whether you’re starting a blog, showcasing your portfolio, launching an online store, or establishing an online presence for your business, having a website is crucial.
However, the thought of creating a website might seem daunting if you lack coding skills.
The good news is that advancements in technology have made it easier than ever to build a professional-looking website without needing to write complex code.
Using tools like website builders, templates, and content management systems (CMS), you can create a functional and visually appealing website with minimal effort.
This guide provides a detailed step-by-step process to help you build your first website, even if you have no prior coding experience.
We’ll explore everything from defining your website’s purpose to customizing templates, optimizing for search engines, and maintaining your site post-launch.
Follow these steps, and you’ll have your website up and running in no time.
Step 1: Define Your Website’s Purpose
Before diving into the technical aspects, it’s essential to understand the purpose of your website.
Ask yourself:
- What do I want my website to achieve?
- Who is my target audience?
- What type of content will I showcase?
Common Website Types
- Personal Blog: Share your thoughts, hobbies, or expertise.
- Portfolio: Display your skills and work samples to attract clients.
- Business Website: Provide information about your products or services.
- E-commerce Store: Sell products online.
- Nonprofit Website: Promote your cause and collect donations.
Clearly defining your goals will guide your decisions regarding design, content, and functionality.
Step 2: Choose a Website Builder or CMS
Modern website builders and content management systems are designed to make website creation accessible to everyone.
These platforms come with pre-designed templates, drag-and-drop editors, and additional features to simplify the process.
Popular Website Builders
- Wix: Intuitive drag-and-drop editor with versatile templates.
- Squarespace: Sleek designs ideal for creatives and small businesses.
- Weebly: User-friendly platform with e-commerce capabilities.
Content Management Systems (CMS)
- WordPress.org: A powerful and flexible CMS offering extensive customization options.
- Joomla: Suitable for slightly more technical users.
- Drupal: Ideal for complex websites but requires some coding knowledge.
Recommendation: WordPress.org is an excellent choice for beginners due to its extensive support, plugins, and ease of use.
Step 3: Get a Domain Name and Hosting

Your website’s domain name and hosting are foundational elements.
Here’s how to secure them:
Domain Name
A domain name is your website’s address (e.g., www.example.com).
Choose a name that is:
- Easy to remember
- Relevant to your niche
- Short and simple
You can purchase domain names from providers like Namecheap, Google Domains, or GoDaddy. Prices typically range from $10 to $15 per year.
Web Hosting
Web hosting is a service that stores your website files and makes them accessible online.
Popular hosting providers include:
- Bluehost
- SiteGround
- HostGator
Many hosting services offer one-click installations for WordPress and other CMS platforms. Some website builders also include hosting in their packages.
Pro Tip: Look for hosting plans that offer SSL certificates to ensure your website is secure (indicated by “HTTPS” in your URL).
Step 4: Select a Template
Templates are pre-designed website layouts that save you time and effort.
Most website builders and CMS platforms offer a wide variety of templates tailored to different industries and purposes.
Tips for Choosing a Template
- Select a design that aligns with your brand or style.
- Ensure the template is mobile-responsive.
- Look for customizable options to add your unique touch.
Once you’ve chosen a template, preview it on different devices to ensure it looks appealing across screens.
ALSO READ: Hundreds evacuated as forest fire rages in Turkiye’s Izmir for 3rd day
Step 5: Customize Your Website
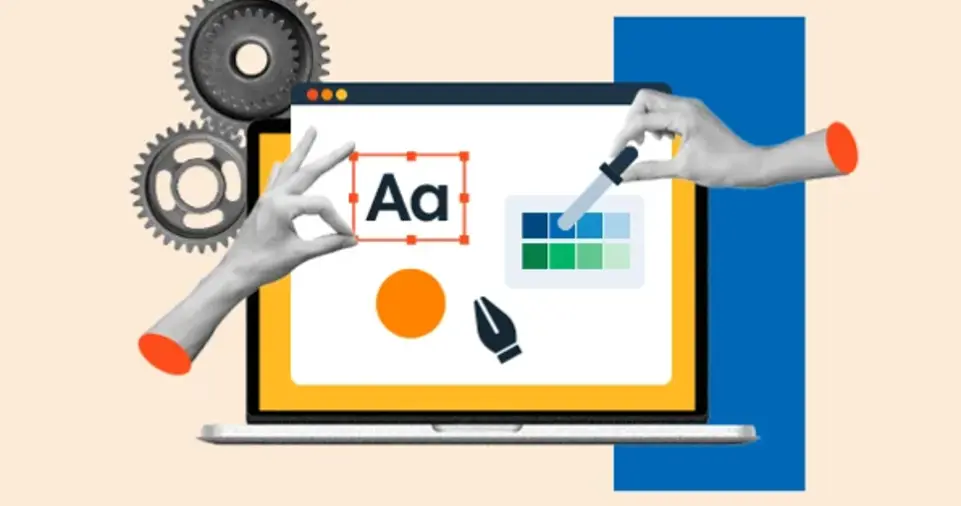
Customization allows you to make your website stand out and align with your brand. Most platforms provide user-friendly customization tools.
Customization Options
- Drag-and-Drop Editing: Rearrange elements like text boxes, images, and videos.
- Color Schemes and Fonts: Choose colors and fonts that reflect your brand identity.
- Custom Images: Use high-quality images relevant to your content.
Plugins and Widgets
Enhance functionality with plugins or widgets.
For example:
- Contact Forms: Enable visitors to reach you easily.
- SEO Tools: Optimize your website for search engines.
- Social Media Integration: Add links to your social profiles.
Optional Coding: Basic HTML or CSS can be used to tweak templates for more advanced customizations.
Step 6: Add Content
Content is the heart of your website. High-quality and engaging content keeps visitors on your site and encourages them to return.
Key Pages to Include
- Home Page: Provide a clear overview of your website’s purpose.
- About Page: Share your story, mission, or background.
- Services/Products Page: Detail your offerings.
- Contact Page: Include contact forms, email addresses, or phone numbers.
Tips for Writing Content
- Use clear and concise language.
- Break text into short paragraphs for readability.
- Include call-to-action (CTA) buttons (e.g., “Learn More” or “Contact Us”).
Step 7: Optimize for Mobile and SEO
A successful website must be mobile-friendly and search engine optimized (SEO).
Mobile Optimization
- Use responsive templates that adapt to different screen sizes.
- Test your site on various devices to ensure functionality.
SEO Best Practices
- Use relevant keywords in titles, headings, and content.
- Write descriptive meta titles and meta descriptions.
- Optimize images by compressing file sizes and adding alt text.
- Use tools like Yoast SEO or All in One SEO for guidance.
Step 8: Test Your Website

Before launching, thoroughly test your website to ensure it’s error-free.
Checklist for Testing
- Links: Verify that all internal and external links work.
- Performance: Use Google PageSpeed Insights to check loading speeds.
- Design: Confirm consistency across browsers and devices.
Gather feedback from friends or colleagues to identify any issues you might have missed.
Step 9: Launch and Promote
Once you’re confident in your website’s functionality and design, it’s time to go live.
Promotion Strategies
- Share your website on social media platforms.
- Use email marketing to inform your contacts.
- Optimize for local SEO if your target audience is regional.
Consider using analytics tools like Google Analytics to monitor traffic and user behavior post-launch.
Step 10: Maintain and Update
A website is never truly complete. Regular updates keep your site relevant and engaging.
Maintenance Tips
- Update content regularly to reflect changes or new information.
- Monitor performance and fix any issues promptly.
- Back up your website to protect against data loss.
By consistently maintaining your website, you’ll ensure it remains a valuable asset for your audience.
ALSO READ: How to Start a Successful Online Business
Last Words!
Building your first website may seem challenging at first, but by following these steps, you can create a professional and functional site without extensive coding knowledge.
With modern tools and platforms, anyone can establish a strong online presence and achieve their goals in the digital space.