As a business owner or a professional, you’ve likely run into problems trying to set up your Business Email on Microsoft 365. It’s an issue that may seem small but can have substantial impacts on your daily operations. We understand your predicament and are here to help.
It’s time to put an end to your Business Email woes once and for all. This article aims to guide you through setting up your Microsoft 365 Business Email in just four easy steps. We are confident that this step-by-step guide will alleviate your concerns and solve the problem at hand.
Whether you’ve experienced delays in your business communications or felt the frustration of being unable to configure your email properly, we get it. That’s why we’ve meticulously crafted this post to address these pain points, turning a complex process into a simple and seamless one.
Why Choose Microsoft 365 for Your Business Email?
As a business owner, you know that having a professional business email is crucial for maintaining a professional image, ensuring smooth communication, and promoting brand consistency. When we dive into the sea of available email services, Microsoft 365 stands out as a beacon of professionalism and efficiency.
Overview of Microsoft 365
Microsoft 365 is a comprehensive suite of office productivity tools that goes beyond just email. Its offerings range from Word, Excel, and PowerPoint to Teams, SharePoint, and of course, Outlook, your hub for business email. Designed with modern business needs in mind, Microsoft 365 not only meets these needs but also anticipates them, providing a future-proof platform for all your communication and collaboration tasks.
Benefits of Using Microsoft 365 for Business Email
When it comes to business email, Microsoft 365 hits all the right notes. The prime benefit you get is the seamless integration with other Microsoft tools. Imagine you’re in the middle of drafting an important email and need to reference a document. With Microsoft 365, you don’t have to sift through file folders; you can access your document right from the cloud.
Not only does Microsoft 365 provide accessibility, but it also ensures high-level security for your business emails. With built-in defenses against viruses, spam, and phishing attacks, you can focus on what you do best: running your business.
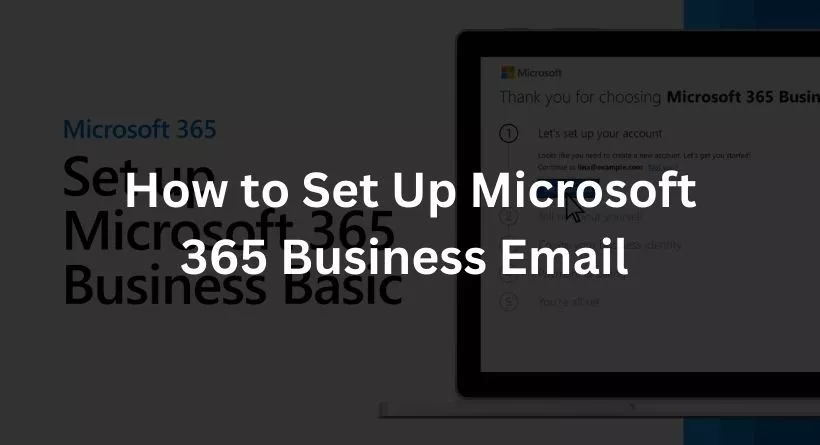
Setting up Microsoft 365 Business Email: A Step-by-Step Guide
Ready to switch over to Microsoft 365 for your business email? Here is a simple guide to get you up and running in no time.
Step 1: Purchasing and Setting Up Your Microsoft 365 Account
Your journey with Microsoft 365 starts with purchasing the right subscription plan. After selecting the plan that suits your business needs, you can start the setup process. Here, you’ll create your Microsoft 365 account and set a password. Remember, this account becomes the backbone of your Microsoft 365 suite, so keep the details safe and accessible.
Step 2: Adding Your Domain
Next, you need to add your business domain to Microsoft 365. This step validates your ownership of the domain and allows Microsoft to host your email service. The process is straightforward and usually involves copying and pasting a few records into your domain host’s DNS settings.
Step 3: Creating Your Business Email Account
Once the domain is verified, it’s time to create your business email account. Remember, an email address that aligns with your business name not only looks professional but also promotes brand consistency.
Also Read: Monoprice 110010 Headphones Review 2023
Step 4: Configuring Your Email Settings
With your business email account created, it’s time to tweak some settings. You can customize your inbox, set your signature, and even automate replies. These settings help you personalize your email experience and make it more efficient.
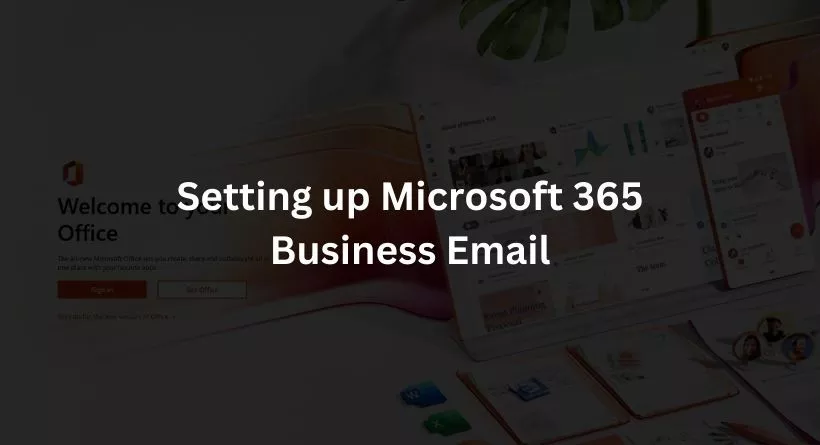
How Do I Set Up My Office 365 Business Email?
The use of email in corporate communications is essential. But setting up an Office 365 (also known as Microsoft 365) email account for your company might be challenging.
This manual will take you step-by-step through the procedure. You can use Word, Excel, and PowerPoint in addition to all of Outlook’s capabilities, such as the calendar and contacts, with Office 365. Additionally, email is accessible from any computer or device with an internet connection.
We’ll go through all the details of configuring your Office 365 business email. Read on to get all the information you need, whether you’re a novice or just need a refresher!
What happens when you run the Microsoft 365 setup wizard
Installing the Microsoft 365 programmed on your computer, adding and validating your domain, adding users and giving them licences, and connecting your domain are all walked through by the setup wizard.
If the setup wizard is not finished, setup chores may always be finished from the admin centre > Setup menu. You may edit your payment information, add or delete users, reset passwords, transfer email and contacts from another email provider, change the admin account’s domain, and do other administrative tasks from here. See Differences between the Microsoft 365 setup process and the Setup page for further details about how the two differ from one another.
Common Troubleshooting Tips for Microsoft 365 Business Email Setup

Like any technology, you might encounter some bumps while setting up your Microsoft 365 business email. But don’t worry! Most issues can be resolved with a bit of troubleshooting.
Addressing the Common Issues during the Setup Process
One common hiccup is domain verification failure. This usually happens when the DNS records aren’t copied correctly. Double-check your entries, and remember, changes to DNS records can take up to 72 hours to take effect.
Providing Quick Solutions and Tips to Navigate These Issues
Another tip is to check your spam folder if you’re not receiving emails in your new Microsoft 365 account. Sometimes, legitimate emails can get trapped in the spam filter. If this is the case, you can adjust your spam settings to resolve the issue.
Remember, a smooth email setup is an integral part of launching your business email. With Microsoft 365, you’re choosing a platform that empowers your business to communicate effectively and professionally. Happy emailing!
Also Read: Different Types Of Trophies To Get Engraved
Conclusion
In the ever-evolving world of business, communication is key. Microsoft 365 empowers your business communication with a professional, secure, and easy-to-use platform. Not only does it offer seamless integration with other productivity tools, but it also ensures the safety of your valuable data. By following the simple steps shared in this article, you can set up your business email on Microsoft 365, and with a little troubleshooting, you’re all set for success. So, why wait? Give your business the communication edge it deserves. Get started with Microsoft 365 today.