Rubber Duck
Ducks are sorts of birds that vast quantities of us know about. They’re typical in many spots around the planet and should be apparent wherever, from flying midair to populating lakes, streams and dams. At last, individuals presumed we were not getting adequate duck transparency, so versatile ducks were envisioned to go with us in the shower. There are different plans for these rubbery birds, and sorting out some way to draw a versatile duck is a phenomenal strategy for creating your arrangement!
Visit the Bee Coloring printable.
If you love these bathtime companions, this will be an informative activity you should possess the whole way to the end. You celebrate the good life working on this little by little aide on the most capable strategy to draw in a Rubber duck, just 6 phases that we have sorted out for you!
Stage 1 – Rubber Duck Drawing
In this underlying step of our helper on the most effective way to draw a versatile duck. We will take it from the top, from a genuine perspective! This underlying step will see you drawing the highest point of the versatile duck. The trickiest piece of this drawing will be the nose, as ducks have a clear and well-thought-out plan for their bills. While drawing the nose for this one, endeavor to follow the reference picture as eagerly as possible to depict the nuances. You could work on the bill a little if you’re encountering trouble!
Then, use a couple of jagged lines for the changed top of the duck and, a short time later, finish for specific oval shapes for the eye. Then, we will move to organize 2!
Stage 2 – As of now, draw the front of the neck and chest
We will add the front of the neck and chest to continue with this Rubber duck drawing. Rubber ducks will, by and large, have a particularly wavy shape, which will be evident as you look at our model picture. The line will loosen up from underneath the nose and go downwards in grand style. Whenever you have added this portion, it will be best an open door for stage 3.
Stage 3 – Draw the tail and the wing outline
We will now add the sharp duck tail and wing outline in this third step of our helper on the ideal way to draw a versatile duck. The duck’s tail will be to some degree tall and sharp, and it will loosen up to the changed back and base of the rubber duck. Near the base, we will use some jagged lines connecting points. They will be drawn in like this solicitation to make the energy of the cushioned completion of the duck’s wing.
That’s all there is to it this step, so when you’re satisfied with its presence of it. We will continue to add to this duck in the fourth step.
Stage 4 – Next, draw a more noteworthy measure of the wing
We added the plan for the wing of this rubber duck drawing in the past step, and in this one, we will add a part of the internal nuances. The inward chart of the wing will be drawn with extra twisted lines, as shown in the reference picture. Then, for some more tuft nuances, you can add a couple of humble twisted lines close to one another. These plume nuances will go near the most noteworthy mark of the wing essentially, but we will add more close by a few last contacts in the next stage.
Stage 5 – Add the last nuances to your rubber duck drawing
The graphs have been wholly done. In this fifth step our helper on the most capable strategy to draw a rubber duck. We will focus on adding some unobtrusive nuances. We added a couple of direct twisted lines generally through the body and top of the versatile duck to make a few surface nuances. Then, at that point, on the wings, we added a mass of additional unassuming changed lines to make a cushioned surface.
These are the last nuances we chose for this picture, but there are significantly more you could add as well! One more idea is to draw an establishment. You could go for a typical setting, for instance, making them float in a shower, yet you could do other fun settings in light of everything!
This is your chance to live up to being innovative, so how might you finish this beautiful picture?
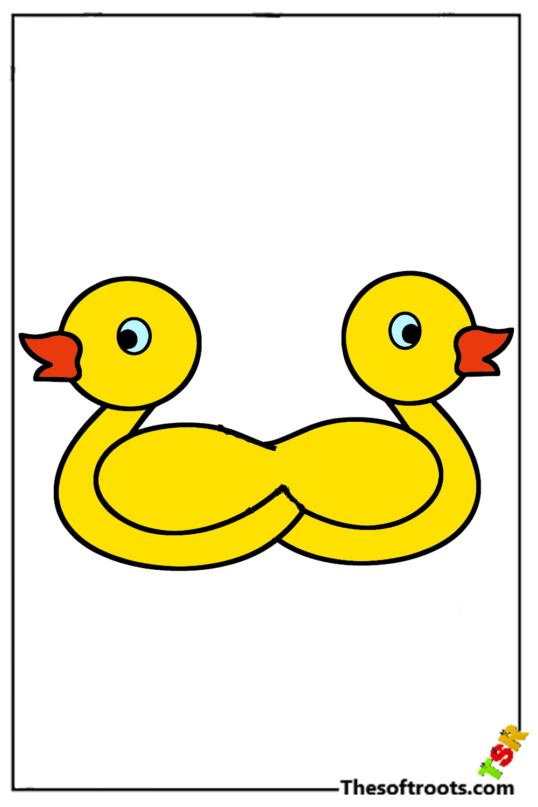
Stage 6 – Finish your versatile duck drawing with an assortment
Usually talking, versatile ducks will consistently come in shades of stunning yellows with vibrant orange for the nose. We went for this in our reference picture for this rubber duck drawing. We used contrasted shades of astonishing yellows for the body and the top of the duck. By merging lighter tones and white elements, you can make a shinier surface for the duck.
While this is the traditional quest for a rubber duck, they can, in like manner, come in a few different assortments you can imagine! While wrapping up this image, you have a lot of chances with how you could assortment it. Get creative with your #1 assortments and artistry mediums, and see what happens!
Also Read tech times 95